
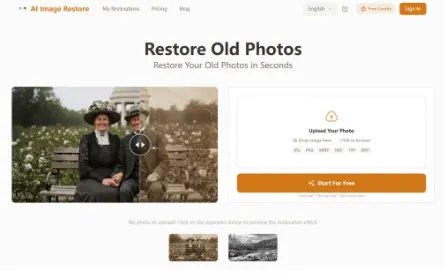
My grandmother kept her wedding photo in a drawer for sixty-one years. By the time it reached me, the bride’s veil had faded into the background paper, my grandfather’s face had developed a soft vertical crease down the middle, and a brown stain the size of a thumbprint sat near the bouquet. I had two options: pay a professional retoucher and wait three weeks, or upload it to one of the AI tools currently competing for this exact moment. I chose the second path, and PhotoRestore.ai became my test bench across eleven different photos from three generations. The pitch is simple enough to be suspicious, claiming you can restore old photos without registration, without software, and without paying until you see the result. This piece is about what actually came out the other side, sorted by the kind of damage I threw at it.
The Damage Categories I Tested
Rather than score the tool on vague impressions, I sorted my eleven photos into four damage profiles. Each profile carries its own technical challenge, and a fair review needs to acknowledge that a single engine handling all of them is doing very different work in each case.
Profile A: Physical Damage From Decades Of Storage
Creases, tears, mold, water rings, coffee stains, and the soft abrasion that happens when a print spends years sliding around in a drawer.
Why This Is Technically Hard
A repair model has to figure out what was underneath the damage. On a smooth sky that is easy. On a face, a lace collar, or printed text, it has to make educated guesses about pattern and texture without breaking the photographic look.
What I Actually Saw
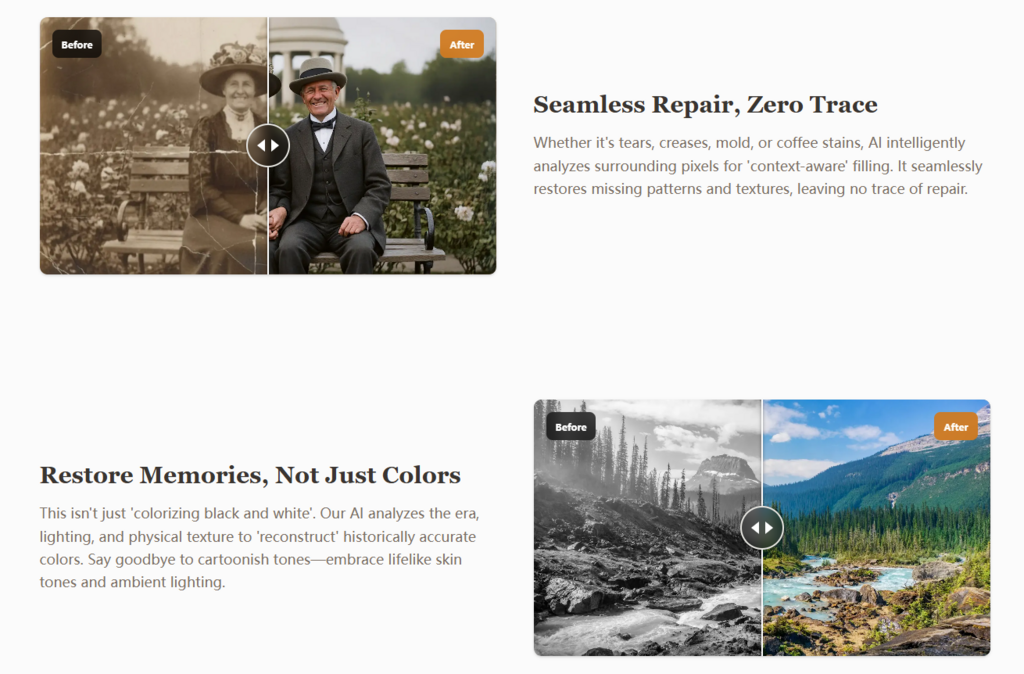
On the wedding photo, the vertical crease across my grandfather’s face was removed cleanly, with no smearing along the seam. The brown stain near the bouquet was reconstructed with floral detail that looked plausible if not perfectly accurate to the original arrangement. On a 1962 birthday photo with a mold bloom across one corner, the bloom was gone but the wallpaper pattern underneath was simplified into a softer version of itself. The repair is seamless visually, but pattern accuracy in heavily damaged regions is a reasonable approximation rather than a forensic reconstruction.
Profile B: Fade, Yellowing, And Tonal Collapse
Old prints lose their black point and their white point at the same time. Everything compresses into a narrow band of warm brown.
Why This Is Technically Hard
A simple curves adjustment recovers contrast but exaggerates remaining damage. The model needs to lift tone and clean up grain at the same time without making the print look digitally polished.
What I Actually Saw
Three faded prints from the 1940s came back with restored contrast that did not feel artificial. Film grain was preserved rather than smoothed into plastic. From a practical user perspective, this is the category where the tool felt most reliable across multiple runs.
Profile C: Black And White Originals Asking For Color
Five of my eleven photos were black and white from the start. The question was not whether the engine could add color, but whether the color it added looked like memory rather than guesswork.
Why This Is Technically Hard
Plausible color depends on context the model has to infer: time of day, season, indoor or outdoor light, skin tone, fabric era. Cheap colorization treats every sky as blue and every lawn as green.
What I Actually Saw
A 1955 garden shot came back with muted late-afternoon tones rather than postcard saturation. Skin tones across all five photos read as natural, not waxy. One result I would flag: a navy blue dress was rendered as a deeper black-blue than I knew it to be, because the model could not know the original. The color is plausible and period-appropriate, but it is the model’s best guess, not the historical truth. For anyone serious enough about that distinction to want a closer look at how the underlying restoration logic handles different damage types, the dedicated old photo restoration page on the site walks through the scratch and crease categories specifically.
Profile D: Soft Or Out-Of-Focus Faces
Two photos had faces that were never sharp to begin with, either because of camera shake or shallow focus on cheap mid-century lenses.
Why This Is Technically Hard
You cannot sharpen detail that was never recorded. A face enhancement model has to reconstruct features without inventing a different person.
What I Actually Saw
Adult faces sharpened convincingly. A toddler’s face in one photo came back recognizable but slightly older-looking than I remembered, likely because the model defaults to clearer feature definition than a soft baby photo originally had. It appears the engine is calibrated for adult portraits more confidently than for very young children, though the result may vary depending on source resolution.
The Actual Workflow On The Site
The flow is shorter than any review of it can be.
Step One: Drop The File Into The Browser
Format And Source Notes
Accepted formats include JPG, PNG, WEBP, HEIC, TIFF, and BMP. The site recommends scanning at 600 DPI, and in my testing this guidance was meaningful. Two of my weaker results turned into clearly better ones after I rescanned at higher resolution.
Step Two: Wait For The Single Automated Pass
No Toggles, No Model Picker
There is no choice of model, no slider for repair intensity, no separate buttons for colorization versus scratch removal. One pass handles everything the engine detects.
Step Three: Preview And Download
High-Definition Output Without Forced Registration
The before-and-after comparison loads in the browser, and the result downloads at high resolution. You can start without an account, which made comparison testing across tools much faster.
The Trade-Off Compared To A Professional Retoucher
| Consideration | Hiring A Retoucher | Single-Pass AI Tool |
| Time per image | Hours to days | Seconds |
| Cost per image | Often fifty dollars or more | As low as thirty-seven cents at volume |
| Pattern accuracy on damaged areas | High, manual reconstruction | Plausible approximation |
| Colorization historical accuracy | Researched per image | Model inference, generally tasteful |
| Creative control | Direct, conversational | None after upload |
| Originals handling | Often requires mailing prints | Upload a scan, keep the original |
The honest reading of that table: a master retoucher remains the right answer for one or two photos that genuinely matter and where forensic accuracy is required. The AI is the right answer for the other forty photos in the shoebox.
Where The Tool Will Disappoint You
Severely degraded source files. Phone snapshots taken at an angle with glare across the surface. Tiny faces in group photos where the source pixels do not carry enough information. Decorative patterns in heavily damaged regions, which are restored convincingly but not forensically. None of these are the tool failing at its job. They are the limits of what any current AI restoration can do without a human retoucher in the loop.
Who I Would Hand This To
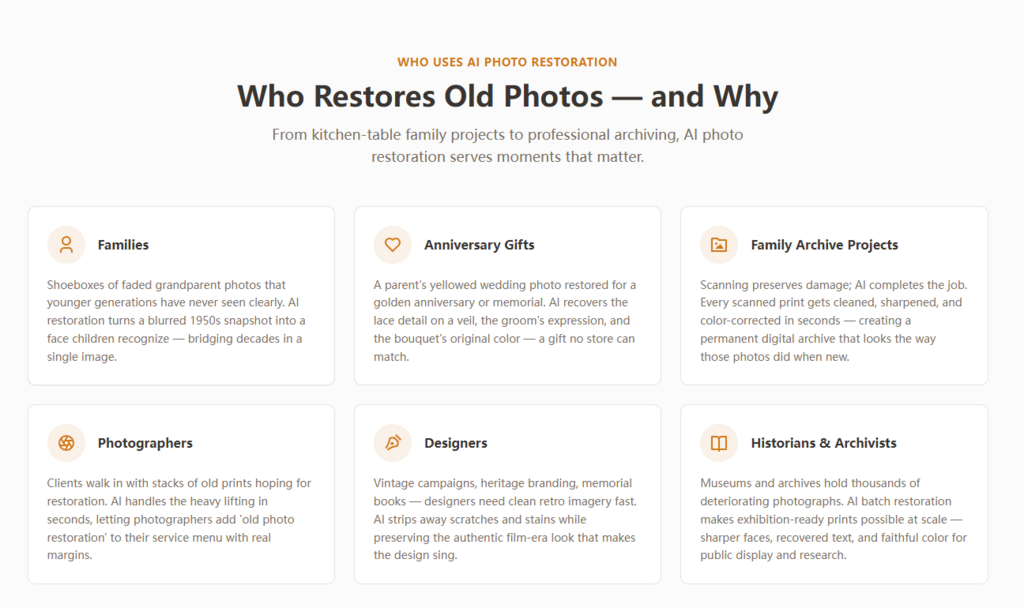
Family historians digitizing albums for the first time. Anyone preparing memorial slideshows under time pressure. Photographers who want to add restoration as a low-overhead service line. Designers building heritage campaigns where the look of a clean vintage print matters more than archival precision. People sending anniversary gifts who care that grandparents see their own wedding day clearly again.
The product is not pretending to replace the retoucher who restores a museum-grade photograph. It is solving the ninety percent of restoration jobs where the goal is simply to see a face again, clearly, in something that resembles the world that face actually lived in. On that ninety percent, across eleven photos and four damage profiles, it earned its place in the toolkit.